
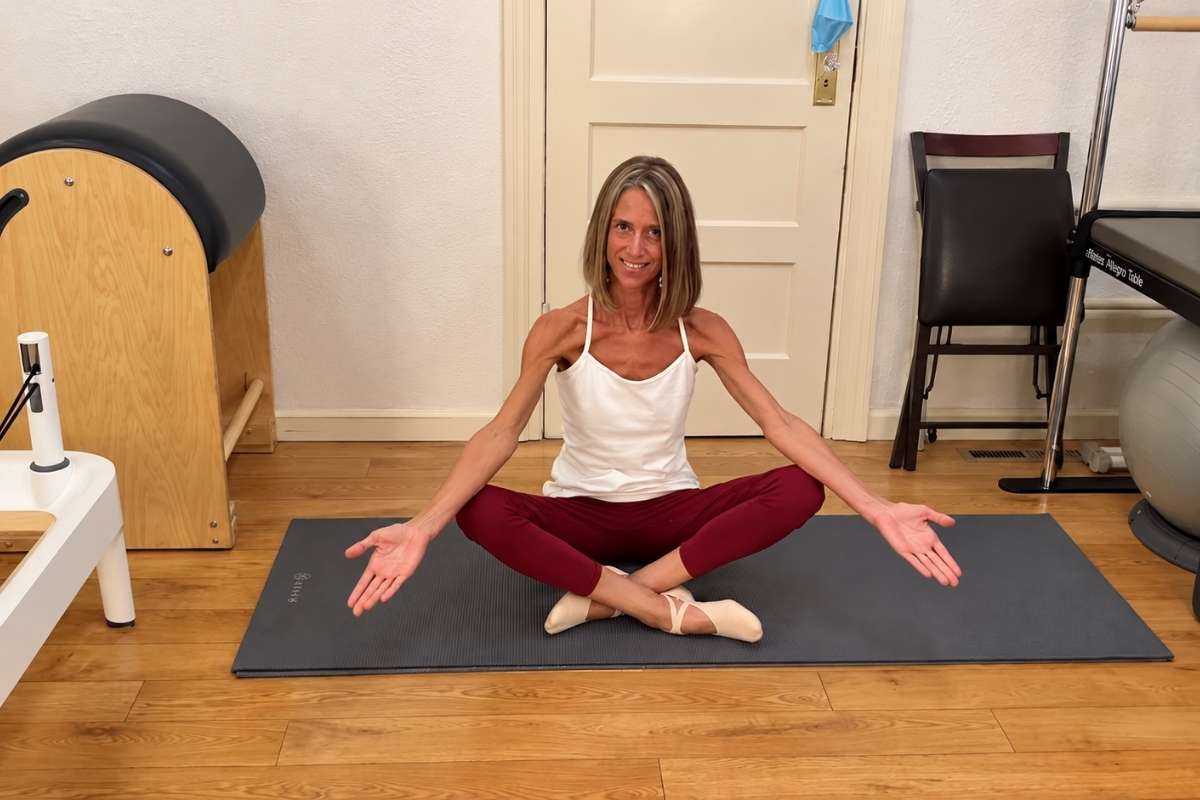
Try something simple. Begin upright, lower yourself to the floor, sit down, then get back up without placing your hands, arms, or knees on the ground for support.
It sounds easy until you actually try it. A score can give you a quick reference point, but we are usually more interested in how someone completes the movement.
Needing a hand on the floor tells me less than when you need it.
Let us present you with this concept and what results might mean in your case.
What Does the Sitting-Rising Test Actually Measure?
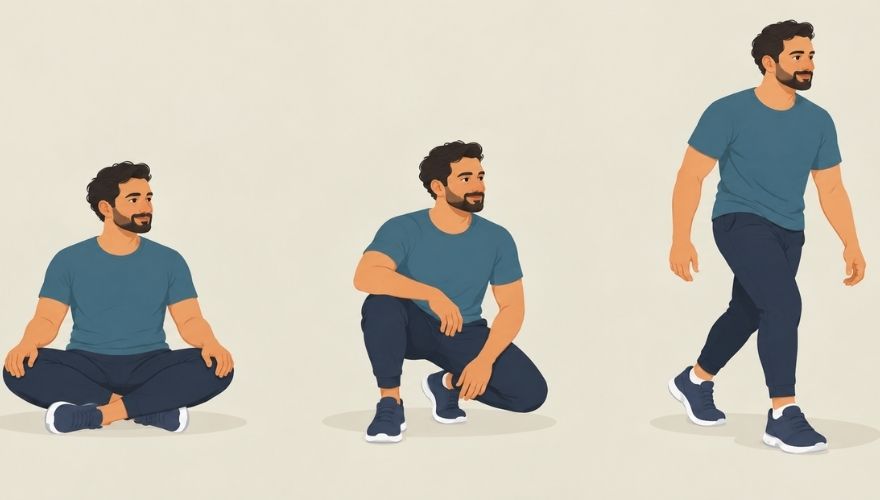
A standard Sitting-Rising Test starts upright. You loosely cross your legs, lower yourself into a cross-legged seated position on the floor, then rise again while trying not to use your hands, knees, arms, or the sides of your legs for assistance.
Scoring uses a 10-point system, with five points available for sitting and another five for rising. Support reduces your score.
Using one hand while sitting and one hand while rising, for example, would leave you with a score of 8 out of 10.
We have also seen people score very well and still look surprisingly unstable doing it. Someone can technically avoid touching the floor, earn a high score, and spend the entire rise wobbling, holding their breath, or throwing their weight forward. That is one reason we pay attention to the movement itself instead of treating 10 out of 10 as an automatic pass.
Older adults may already be familiar with chair-rise tests that look at lower-body function.
Sitting and rising directly off the floor adds more demands because you need flexibility, balance, motor coordination, and muscular power relative to your body weight. Protocol matters here.
If you want your result to mean anything, use the same movement each time. Changing the position changes what your body has to do.
How I’d Train It
Improving the movement usually works better when you make the task manageable first and then gradually remove help.
1. Bring the Floor Up
Start with a box, bench, or step if actual floor level is currently too demanding. A target around 10 inches high can be a reasonable starting point.
Raising the sitting surface reduces how much squat depth, mobility, and strength you need. Go higher if 10 inches still forces you to collapse or use heavy assistance.
Progress lower once you can control both directions. Eventually, you might work toward something as low as a 3-inch yoga block before returning to the floor.
Height is just a training variable. Pick the level where you can move well.
2. Use Support to Practice the Low Position
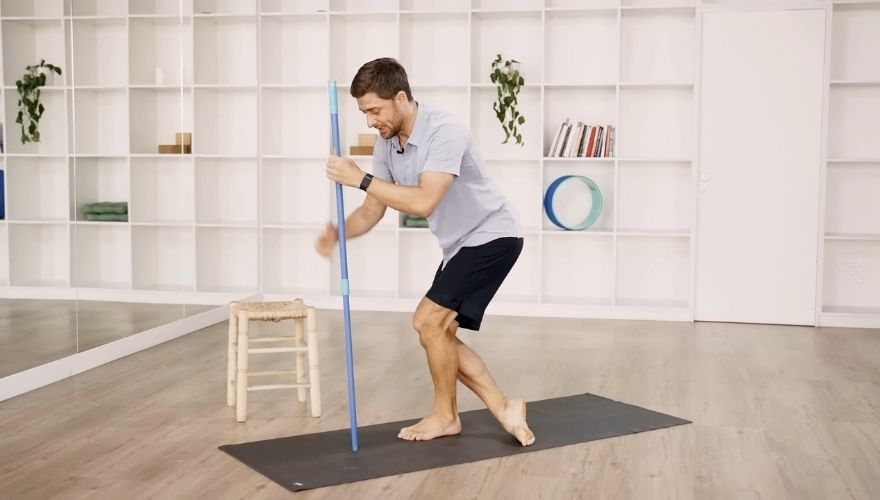
Hold a doorframe, sturdy desk, suspension trainer, or another stable support while you practice lowering. Assistance can be especially helpful if ankle mobility is limiting your squat.
Holding something allows you to shift your weight back without immediately losing balance.
Use enough help to control the movement, not so much that your arms perform the entire exercise. Over time, lighten your grip.
3. Build Strength for Sitting and Rising
Squats and lunges make sense here because they train many of the positions and muscles required during the test. A practical starting point is 5 to 10 repetitions per exercise.
Gradually work toward three sets performed about three times per week if that amount fits your current training level. Quality matters more than forcing extra repetitions.
Use a squat depth you can control. Add range as your mobility and strength improve instead of dropping into a position you cannot manage.
4. Practice the Transition Itself
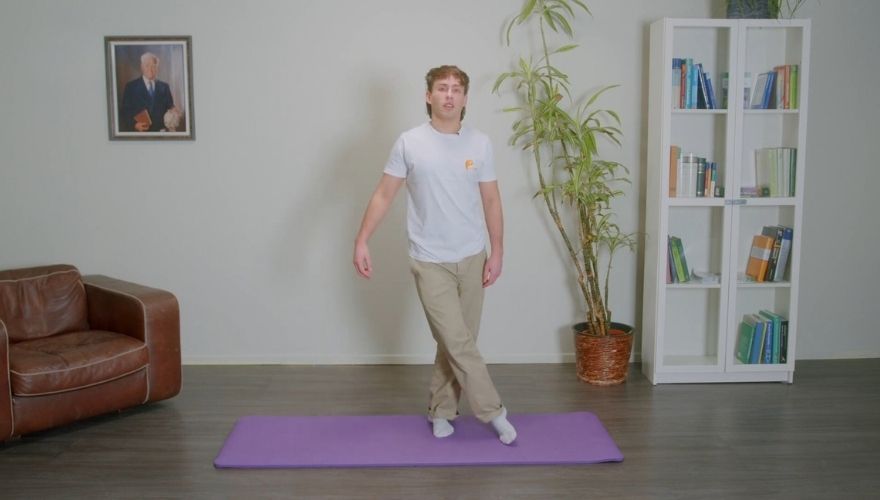
General strength helps, but floor transfers are also skills.
One complication people see fairly often is someone who has enough leg strength to get off the floor but cannot comfortably settle into the cross-legged starting position.
Their knees may sit very high, one hip may refuse to cooperate, or they immediately shift onto one side. In that case, repeatedly forcing the official test position is not especially useful. I would work on the transfer using a position they can control first.
Practicing that sequence matters. Start with light assistance. Hold furniture, place fingertips on the floor, or use a raised surface if needed. Reduce assistance gradually as control improves.
Do not keep attempting the hardest version and call that practice. Give yourself enough support to control the movement, then remove that support as the movement improves.
We have also watched people improve their score fairly quickly simply because they learned the transition better. They figured out where to place their feet, stopped hesitating halfway up, and became more comfortable shifting their weight forward.
That is still useful progress, but it does not necessarily mean their overall strength suddenly changed just as quickly. Part of the improvement is skill.
Does Getting Up Without Your Hands Really Predict Longevity?
Research has given the Sitting-Rising Test more attention than you might expect. One Brazilian study followed 2,002 adults between ages 51 and 80 for an average of 6.3 years.
Poorer scores were associated with higher mortality during the follow-up period.
Participants who needed both their hands and knees to sit down and get back up were reported to have nearly seven times the mortality risk compared with people who completed the movement without support.
Later research has included more than 9,000 people, with participants ranging in age all the way into the 100-plus range. Strongest evidence linking Sitting-Rising Test performance with mortality has been seen among middle-aged and older adults.
Associations have also been reported after researchers accounted for factors including age, sex, BMI, and chronic disease.
None of that means practicing one floor transition is a shortcut to a longer life. A more sensible interpretation is that the test captures several physical qualities associated with healthy aging at the same time.
Treat it as a movement screen, not a fortune teller. Useful information comes through seeing what your body can currently organize without extra support.
What People Ask About the Sitting-Rising Test?
Is getting up off the floor harder as you get older?
Often, yes, but age is only part of the picture. Years of sitting more, moving through smaller ranges, losing muscle, or avoiding certain positions can all make floor work feel harder.
Progress depends much more on what your body is used to doing than on your birthday alone.
Should I practice this barefoot or with shoes on?
Barefoot usually gives you more feedback through your feet and lets the ankle move without interference, which can make practice useful for mobility work.
Shoes can still make sense if you normally need supportive footwear or feel more stable wearing them. Consistency matters most when you are comparing your own attempts.
What if sitting cross-legged is uncomfortable?
Do not force the position. Hip structure, previous injuries, knee sensitivity, and years of movement habits can all affect how comfortable cross-legged sitting feels.
Use a cushion, sit on a slightly raised surface, or practice another floor position that does not irritate your joints. Pain is not a requirement for improving floor mobility.
Summary
Getting off the floor without using your hands brings several physical qualities together in one practical movement.
Strength, mobility, balance, coordination, stability, and control of your own body weight all contribute.
Research makes the Sitting-Rising Test interesting, particularly for middle-aged and older adults, but trying to calculate your lifespan based on one attempt misses its more practical use.
Ask where your movement starts to break down. Falling backward can point you toward ankle mobility and balance work.
Getting stuck on the way up may place more attention on strength and power.
Wobbling through the transition can suggest that coordination and stability need more practice. A score gives you a number. Watching how you move gives you a place to start.